Introduction:
Successful flooring installation begins with proper subfloor preparation. Ignoring this crucial step can lead to a range of issues, from uneven surfaces to premature wear and tear. In this guide, we’ll explore essential subfloor preparation tips to ensure a solid foundation for your new flooring.
Assessing Subfloor Condition:
Before diving into any flooring project, it’s imperative to assess the condition of the existing subfloor. Check for any signs of damage, moisture issues, or unevenness. Addressing these concerns upfront is essential for a smooth and durable flooring installation.
Moisture Mitigation Strategies:
Moisture is a common enemy when it comes to subfloor preparation. Ensure the subfloor is dry and free from moisture-related issues before proceeding with installation. Implement moisture barriers or sealants as necessary, especially in areas prone to dampness.
Leveling the Subfloor:
A level subfloor is the foundation for a flawless flooring surface. Use leveling compounds to fill gaps, depressions, or uneven areas. This step is critical for preventing issues like squeaks and uneven wear on the finished floor. Take the time to achieve a perfectly level subfloor before moving forward.
Repairing Subfloor Damage:
Address any visible damage to the subfloor, such as rot or weakened sections. Replace damaged subfloor materials to ensure a sturdy foundation. Neglecting repairs can compromise the integrity of the entire flooring system over time.
Subfloor Cleaning:
Cleanliness is key to a successful subfloor preparation. Remove any debris, dust, or residues that may interfere with the adhesion of adhesives or underlayment. A clean subfloor ensures better bonding and a more durable flooring installation.
Choosing the Right Underlayment:
Selecting the appropriate underlayment is crucial for both comfort and performance. Different types of flooring may require specific underlayment materials. Whether it’s cork, foam, or rubber, choose an underlayment that suits the needs of your flooring type.
Acclimating Flooring Materials:
Allow flooring materials to acclimate to the environment before installation. This step is often overlooked but is vital to prevent issues like warping or buckling after installation. Follow manufacturer recommendations for acclimation times.
Proper Subfloor Fastening:
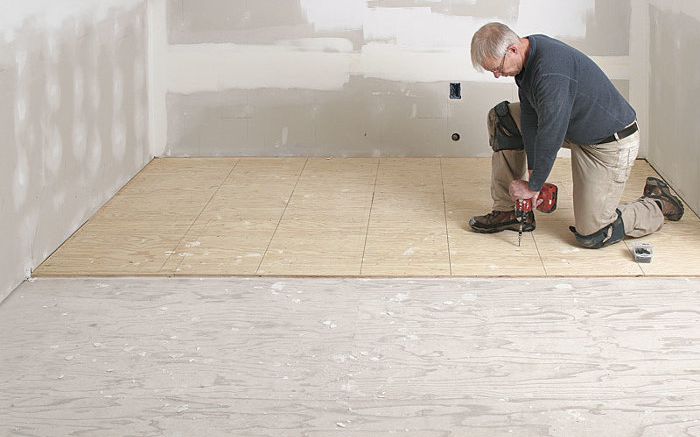
Ensure the subfloor is securely fastened to the joists. Loose or squeaky subfloors can lead to an unstable surface for your flooring. Use appropriate fasteners, such as screws, to secure the subfloor firmly in place.
Consideration for Different Flooring Types:
Different flooring types have specific subfloor requirements. Whether you’re installing hardwood, laminate, tile, or carpet, understand the unique needs of each material. Follow manufacturer guidelines to achieve optimal results and maximize the lifespan of your flooring.
Professional Consultation for Complex Projects:
For complex subfloor issues or if you’re unsure about the best approach, consider consulting with professionals. Experienced flooring installers can assess your specific situation and provide expert guidance, ensuring a successful and long-lasting flooring installation.
Conclusion:
Subfloor preparation is a critical step in the journey to a beautiful and durable floor. By following these subfloor prep tips, you’ll create a solid foundation for your flooring, setting the stage for a successful and long-lasting installation. For more detailed guidance and expert assistance, visit Subfloor Prep Tips to ensure the success of your flooring project.


